|
Step 1: Assess the injury. Discover where the blood is coming from. You must discover and assess the injury as quickly as you can. If not already down, have the person lie down and find out where the blood is coming from. Additionally, a severely injured person may also require other life-saving measures, such as CPR (clearing airways, mouth-to-mouth resuscitation, chest compressions) and shock prevention.
|

|
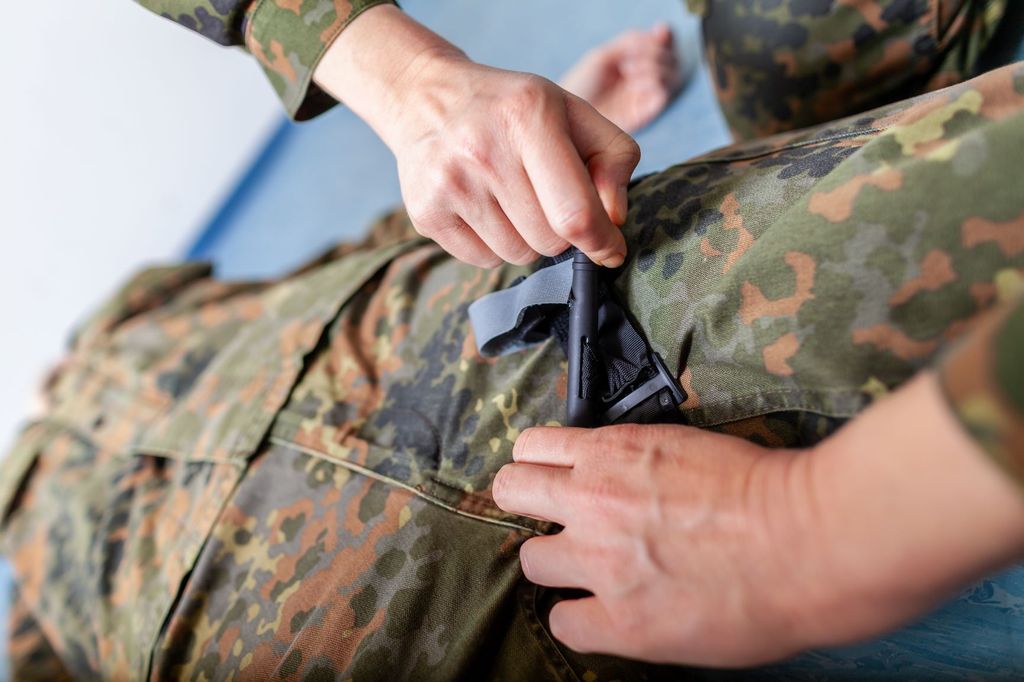
Step 2: Place the tourniquet around the limb 1-3 inches above the wound. Be sure to place the tourniquet around the injured limb a few inches ABOVE the wound. The distance between the wound and the tourniquet is not important, just be sure not to place the tourniquet over the wound itself. If the size of the wound is unknown or cannot be determined quickly, put the tourniquet as high as possible - where the limb meets the body.
|

|
Step 3: Turn the windlass as tight as possible. Twist to tighten the rod attached to the tourniquet (the windlass) as much as possible. This will cause extreme discomfort to a conscious patient, but it’s critical that the windlass is as tight as possible to most effectively stop the bleeding. Once the windlass is as tight as possible, secure one end into the windlass retaining bracket, which is located under the Velcro tab that says “TIME”. If necessary, loosen the windlass slightly so that the end can be placed in the retaining bracket.
|

|
Step 4: Fasten the Velcro tab and write the time. Once applied, it is important that the windlass doesn’t come loose, so be sure to cover the windlass retaining bracket with the Velcro tab. Write the time on the tab. Medical personnel need to know exactly how long the tourniquet has been on. If a writing utensil isn’t available, use the patient’s blood and your finger to record the time.
|
Step 5: Reassess the bleeding. Once the tourniquet has been applied and the time has been recorded, continually reassess the patient for signs of continued bleeding to injuries until paramedics arrive. If the limb continues to bleed, an additional tourniquet may be necessary.
As in all medical emergencies, you should contact 911 or the appropriate responder as soon as possible.
|